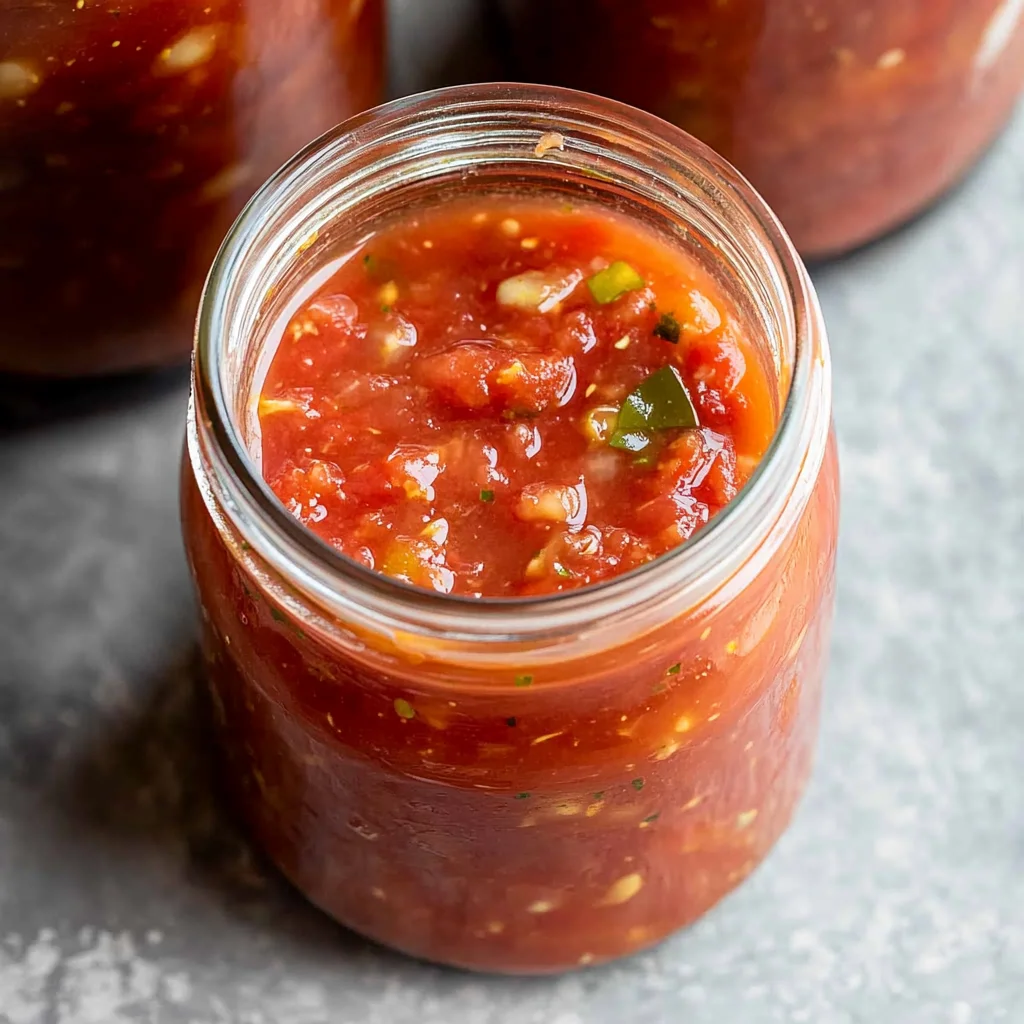
Imagine the vibrant colors of ripe tomatoes, fresh cilantro, and zesty jalapeños dancing together in a pot, filling your kitchen with an irresistible aroma that beckons everyone to gather around. This salsa recipe for canning is not just about preserving summer's bounty; it's about capturing those sun-soaked flavors and textures that burst with every bite, making your taste buds sing with joy.
As you chop and mix, you’ll find yourself lost in the rhythm of the process, perhaps reminiscing about backyard barbecues or family gatherings where salsa was always the star. The beauty of this recipe lies in its simplicity—easy enough for novices yet rewarding enough for seasoned canners. You’ll love knowing that you can enjoy this homemade delight long after the harvest season has passed.
Why You'll Love This Recipe
- This salsa recipe for canning is not only easy to follow but also bursting with fresh flavors that will brighten any dish.
- The vibrant colors of the ingredients create an enticing visual appeal, making it a feast for the eyes as well as the palate.
- Perfectly balanced seasoning means you can enjoy it straight from the jar or use it in countless recipes, from tacos to grilled meats.
- You'll love how this homemade salsa captures the essence of summer, allowing you to savor it year-round.
I remember the first time I opened a jar of my homemade salsa recipe for canning; my family's delighted faces and enthusiastic compliments made all the effort worthwhile. It felt like summer’s warmth captured in each flavorful bite.
Now, let's dive into the essential steps to create this delightful salsa.
Essential Ingredients
To create a delicious salsa recipe for canning, gather the following fresh ingredients.
10 cups fresh tomatoes (peeled and chopped): Choose ripe, flavorful tomatoes; Roma or beefsteak varieties work best for texture and taste.
2 cups onions (finely chopped): Yellow onions provide the best balance of sweetness and sharpness, enhancing the overall flavor profile.
1 cup green bell pepper (finely chopped): A fresh green bell pepper adds crunch and a mild sweetness that complements the heat of jalapeños.
1 cup jalapeño peppers (seeded and finely chopped): Adjust the number of jalapeños based on your spice tolerance; remember to wear gloves while chopping.
½ cup fresh cilantro (chopped): Fresh cilantro brightens the salsa; if you're not a fan, you can reduce this amount or omit it entirely.
¼ cup lime juice (freshly squeezed): Fresh lime juice enhances acidity and freshness; bottled lime juice may alter the intended flavor.
2 tablespoons garlic (minced): Freshly minced garlic adds a robust aroma; adjust according to your preference for garlicky flavors.
2 tablespoons salt (adjust to taste): Salt is crucial for preservation and flavor; taste your salsa before adjusting this ingredient.
1 tablespoon ground cumin: Cumin adds a warm, earthy flavor that deepens the salsa's complexity. Use freshly ground if possible for better flavor.
1 teaspoon black pepper: Freshly cracked black pepper enhances the overall taste without overpowering other flavors in the salsa.
1 teaspoon sugar (to balance acidity): Sugar helps mellow out the acidity from tomatoes and lime juice, creating a well-rounded flavor.
The full ingredients list, including measurements, is provided in the recipe card directly below.
Let's Make It Together
Step 1: Combine the Ingredients:In a large pot, combine the vibrant colors of chopped tomatoes, finely chopped onions, green bell pepper, and jalapeños. Add in the fresh cilantro, lime juice, minced garlic, salt, ground cumin, black pepper, and sugar. As you mix these ingredients together, take a moment to enjoy the fresh aroma wafting up from the pot—this is where the magic begins!
Place your pot over medium-high heat and bring the salsa mixture to a boil. Stir frequently to prevent sticking; you'll notice the ingredients melding together beautifully as they heat up. Once it's bubbling happily away (about 10 minutes in), reduce the heat to medium and let it simmer for 20 minutes. This simmering time will not only thicken your salsa but also deepen those fantastic flavors.
Step 3: Taste Test and Adjust:After 20 minutes of simmering, take a spoonful of your salsa and taste it. This is a crucial step! The salsa should be bursting with flavor. If you find it needs more kick, feel free to add additional jalapeños or even a pinch of cayenne pepper for extra heat. Remember, it’s all about making it perfect for your palate!
Step 4: Prepare for Canning:While your salsa simmers away, have your canning jars ready by washing them in hot, soapy water and rinsing well. Keep them warm in a hot water bath until you're ready to fill them; this will help maintain the temperature and ensure proper sealing later on.
Once your salsa has reached that delightful thick consistency after simmering, use a ladle and funnel to fill each jar with salsa. Leave about ½ inch of headspace at the top—this is important for sealing! Wipe down the rims with a clean cloth; you want them free of any residue for a perfect seal.
Step 6: Process Your Salsa:With lids placed on top of each jar, screw on the rings until they are fingertip-tight—don’t overdo it! Now it's time to process them in a boiling water bath for exactly 15 minutes. Ensure that the water covers the jars by at least an inch for safe canning. After processing, carefully remove them using a jar lifter and let them cool completely on a clean towel or cooling rack.
As you revel in that delicious homemade canned salsa aroma filling your kitchen, let's move on to how to store these vibrant jars safely for future enjoyment!
You Must Know
- Consider using ripe, in-season tomatoes for your salsa recipe for canning, as they provide the best flavor and sweetness.
- I've found that garden-fresh tomatoes make a noticeable difference in taste.
- Adjust the level of jalapeños based on your heat preference; you can always add more but can't take it out once mixed.
- It's a great way to customize your salsa!
- For optimal storage, ensure that jars are filled properly with headspace and sealed correctly.
- This prevents spoilage, and trust me, nothing beats the satisfaction of a perfectly sealed jar!
Transitioning to the next section, let's explore some creative ways to use your homemade canned salsa beyond just a dip.
Add Your Touch
Feel free to personalize this salsa recipe for canning by swapping out the green bell pepper for a sweeter variety like red or yellow, or experimenting with different peppers for varying heat levels. You might also consider adding corn or black beans for extra texture and flavor. For a unique twist, try incorporating diced pineapple or mango to bring a touch of sweetness. Remember, your kitchen is your canvas—trust your instincts and have fun creating a salsa that reflects your taste!
With your customized salsa in hand, let's explore the best practices for storing your delicious creation.
Storing & Serving
Once cooled completely, store your canned salsa in a cool, dark place for up to one year to maintain optimal flavor and freshness. For the best taste, serve the salsa chilled as a dip with tortilla chips or use it as a vibrant topping for tacos and grilled meats. Enjoy the rich, homemade flavors of your salsa recipe for canning with family and friends! Now that you have your salsa ready, let’s explore some creative ways to enjoy it in meals.
Chef's Helpful Tips
- 1. When peeling tomatoes, ensure the boiling water is at a rolling boil for full effectiveness. This makes the skins loosen more easily, saving you time and effort during preparation.
- To enhance flavor, let your salsa cool completely before adjusting seasonings. Cooling allows the flavors to develop further, giving you a better idea of what adjustments are needed.
- Use a wide-mouth funnel when filling your jars with salsa; it helps prevent spills and ensures that you maintain the proper headspace for sealing. A clean rim is essential for a good seal!
With these tips in mind, you'll be well on your way to mastering this salsa recipe for canning!
As I watched my family gather around the table, savoring each bite of my salsa recipe for canning, I felt a deep joy knowing that these flavors would bring us together long after summer ended.
How to Know It’s Done Perfectly
Your salsa recipe for canning is perfectly done when it has a vibrant color, a thick texture that clings to the back of a spoon, and an inviting aroma filled with fresh ingredients. The flavors should be balanced—slightly tangy from the lime juice and just right in spice. Remember, small variations in taste are normal and add character to your homemade salsa!
Now that you know how to confirm your salsa's perfection, let’s dive into the canning process to ensure each jar is sealed safely.
FAQ
What is the best way to peel tomatoes for the salsa recipe for canning?
The best way to peel tomatoes for your salsa recipe for canning is to blanch them in boiling water for 30 seconds, then immediately transfer them to ice water. This technique loosens the skins, making them easy to remove.
Can I adjust the spice level in my salsa recipe for canning?
Yes, you can absolutely adjust the spice level in your salsa recipe for canning. If you prefer a spicier salsa, simply add more jalapeños or a pinch of cayenne pepper when cooking.
How long should I process jars of salsa using the canning method?
You should process jars of salsa using the boiling water bath method for 15 minutes to ensure they are sealed properly and safe for storage.
Can I use canned tomatoes instead of fresh in my salsa recipe for canning?
While fresh tomatoes are recommended for optimal flavor and texture in your salsa recipe for canning, you can use canned tomatoes if fresh ones are not available; however, be sure to adjust the acidity accordingly.
How long can I store homemade canned salsa?
Homemade canned salsa can typically be stored in a cool, dark place for up to one year. Always check jars for any signs of spoilage before consuming.
Now that you've got all your questions answered, let's dive into some tips on personalizing your salsa!
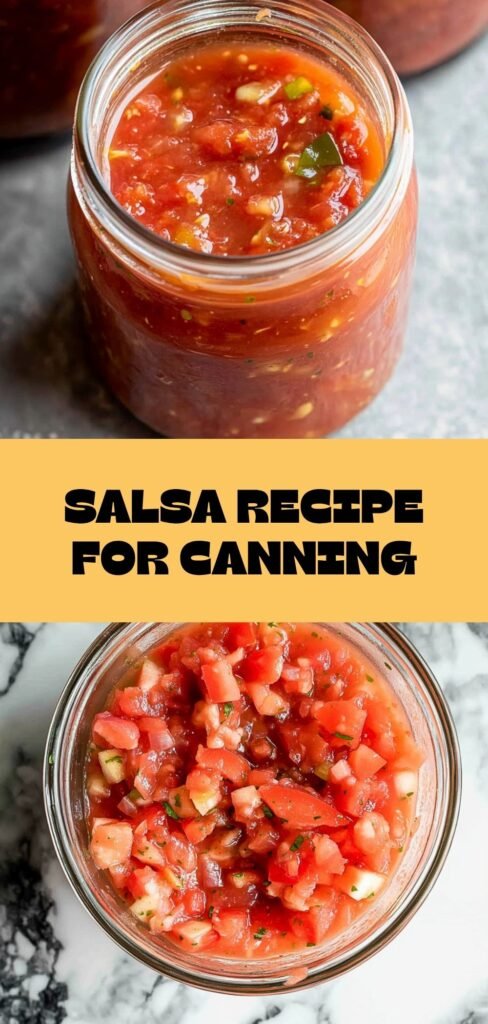
Homemade Canned Salsa
Ingredients
Method
- Start by washing the tomatoes thoroughly. Remove the skins by blanching them in boiling water for 30 seconds, then plunging them into ice water. This will make peeling easier.
- Chop the peeled tomatoes into small pieces and measure out 10 cups. Set aside.
- Finely chop the onions, green bell pepper, and jalapeño peppers. Make sure to wear gloves when handling jalapeños to avoid irritation.
- Chop the cilantro and measure out the lime juice.
- In a large pot, combine the chopped tomatoes, onions, green bell pepper, jalapeños, cilantro, lime juice, garlic, salt, cumin, black pepper, and sugar.
- Bring the mixture to a boil over medium-high heat, stirring frequently to prevent sticking. Once boiling, reduce the heat to medium and let it simmer for 20 minutes. This allows the flavors to meld and the salsa to thicken.
- Taste the salsa and adjust seasoning if necessary. If you prefer a spicier salsa, add more jalapeños or a pinch of cayenne pepper.
- While the salsa is simmering, prepare your canning jars by washing them in hot, soapy water and rinsing well. Place them in a hot water bath to keep them warm.
- Once the salsa has cooked, use a ladle and funnel to fill each jar with salsa, leaving about ½ inch of headspace at the top. Wipe the rims of the jars with a clean cloth to remove any residue.
- Place the canning lids on top of the jars and screw on the rings until they are fingertip-tight. Do not over-tighten as this can prevent proper sealing.
- Process the jars in a boiling water bath for 15 minutes to ensure they are sealed properly. Make sure the water covers the jars by at least an inch.
- After processing, carefully remove the jars using a jar lifter and place them on a clean towel or cooling rack. Allow them to cool completely before storing.


Leave a Reply